Tuesday 6 December 2011

My Kids Art Wall

Well, I know this has been a long time in the making, but I am finally able to post something here and it's something that I am head to toe proud of! You know that thing where you form an idea inside your mind's eye that you just know has a good chance of being impossible (or too expensive) to create? Well, I did that with this.


Remember the big purple wall in the kitchen? It had two frames up there as a "put me on" but I always envisioned it being a space where we could hang all the kids' art. Our appliances are all integrated, including the fridge, so all their pictures were being stuck to the extractor hood above the hob and it just looked a mess. Plus you couldn't see anything!

So, a bit of imagination, a huge load of luck, that trip to IKEA plus a couple of coats of paint and...


Huzzah!! I am so so so so pleased with it! The frame was a complete chance buy from eBay. I won it for the grand total of £1.04 and only had to pick it up from a nearby town. YEY! It was stained pine, but I painted it cause I prefer white.


The wires with the clips are from IKEA and they're called Deka. They're meant for curtains, but I've seen tons of bloggers use them for clipping up pictures and photos, etc, so I can't take credit for that idea.


Had to rope in the hubby to do the hanging part, but this is a really sturdy external wall, so there are no fears about it not being able to hold the weight. Most other walls in the house are super flimsy partition wall types.

I know that I caved again to my "GET THE BIGGEST ONE YOU CAN FIND" instinct, but I think in this case it paid off. I love love love my children's new gallery space and they love it too!


Linking up to.....

The DIY Show Off
 

Design Dazzle
Savvy Southern Style - Wow Us Wednesdays

Org Junkie's 52 Weeks of Organising

Wednesday 9 November 2011

Monster Themed First Birthday Party!


I know I know! Youngest's birthday was over a month ago and I am only just writing about it here. My Mum has kindly chided me into updating my blog, so here I am. Thanks, Mum! :)


Youngest's birthday was lovely and he was lucky enough to have TWO parties to celebrate turning 1. The first party was on the day of his birthday and his friends and their mummies all came along.

I made a special Monster Cake, Monster party bags, Monster googly eye cups, and a Monster happy birthday banner.


The cake was yummy, even if I do say so myself and the inside was all multicoloured and Monstery. :)


The kids seemed to have fun running about, playing with toys, making a mess and eating their party food.


We all sang Happy Birthday to the little Mister...


 And the birthday boy really, really loved the cake!


Once everyone had gone the house was in a spot of disarray.


But I wasn't worried as I had Eldest on hand to help clean up!


Thursday 25 August 2011

Where do i (re)start?!


I figured out that I was going about this all wrong. In order to get things done, but I mean really get them finished all the way to the end is to actually treat each thing as a project in itself. Simply attacking the whole house as one massive project isn't working.

The Prince2 textbook defines a project as, "A management environment that is created for the purpose of delivering one or more business products according to a specified Business Case."

Well, I think that's far too formal and businessy for my application.

An alternative definition is, "A temporary organisation that is needed to produce a unique and predefined outcome or result at a pre-specified time using predetermined resources."

I like that one. It's saying that you should decide the outcome, the timescale for completion and resources before you begin. Perhaps it's still a little too rigid for my purposes though. It should definitely be kept in mind, but this is my home. If I decide to splash out a little more money halfway through a project because I won a tenner on the lottery then that's what I shall do!

So I think I will just stick with the most simplistic definition I could find. From good old dictionary.com.

"Something that is contemplated, devised, or planned."

There is enough vagueness in this explanation to afford me the flexibility I need here. I will be contemplating, devising and planning in earnest, but I am sure there will be scope creep and deadline readjustment every which way. I am not doing this for the end result in itself, but to enjoy the journey too. I know right... geek! I've never been the coolest of kids. 


As I thought about this new approach and looked around, it became clear that I needed this strategised plan of attack for completing the jobs I have in mind. For starters I had no list to refer to, and no idea really what needs doing except that some things bug me still.

So, I took my trusty camera and snapped photos of all the areas as I came across them. This will help me to formulate my list and also provide the "before" snaps too.

My next post will be about sorting through my photographs and deciding the scope of each one and it's priority.

Project Planning - The Craft Room / Home Office / Guitar Room

Okay, so I have my compilation of photographs showing the areas I wanted to work on in my home. Well, the ones that came to mind as I was touring my house with the camera the other day. :)


What I really need to do is look at each photo separately and set out what needs to be done and the priority of the task. I should also maybe think about a budget, but I am aiming to spend as little as I can in each area. Probably a great reason to have a budget in itself!


The first job that needs to be done is to organise the office/craft space. 


Sigh. Remember how this used to look?


Well, life just kind of got in the way of keeping this room neat. That and the magical magnetic power it seems to have in attracting all of the homeless gibble from all over the house... Admittedly, this is a particularly messy day. The ironing board isn't usually there and neither are those clothes that you see piled up. I was having an ironing day.


This room has to be tackled first because I am going back to work!! :) My boss has oh so kindly allowed me to work from home, which means that a) I can actually return to work at all, b) don't have to commute = less time and less money and c) I get to create a cute home-office space. YEY!


My deadline is 12th September. This is my first day back. 


I'm actually trying to source a better desk than the one I have in there at the moment. This one is very cheap in construction, so it is literally falling apart. You can see into the drawers from the back and if it needs to be moved, the top of the desk comes away from the bottom part. The structural integrity of this thing is like zero. Plus, as a workspace, it's teeny tiny. I need room to spread out!


Sooo... From taking a look at my photo I can see what needs to be done:
  • Design a plan for the space with working as a primary function and crafting/guitars as a secondary function.
  • Take out everything that doesn't belong in there - dining table & spare chairs etc.
  • Work out what needs to be stored in this space and that can move elsewhere.
  • Find storage solutions.
  • Replace the desk if at all possible.
  • Declutter all unused craft items to eBay and put funds in new camera savings fund or towards the new desk
  • Budget = as little as possible. Look in the loft for things to repurpose and try to get a secondhand desk or a table to use as a desk. 
As I think about this job more I realise that this cupboard is within that scope.


It's in the same room and currently houses the mop, sweeping brush, ironing board and hoover etc. It really does need rejigging though. I am note sure that cleaning things are best stored in the office. Perhaps they should go under the stairs instead. I don't know. I'll see how things look once i've cleared out the space in the office / craft room.

Monday 22 August 2011

Shabby Chic Table


I took a simple foray into the world of shabby chic and painted our dining room table! I know it's nothing new. These tables are the perfect project piece and there are a million of them all looking the same, but it suits us just grand.

Here is the before pic up top. Well, I had just started to sand when I remembered to take a before pic. :o)

Power tools are awesome! I love playing about with practical things like this. I may not particularly good at it, but it's fun, so I don't mind.


Yes, I know. Skinny jeans are not the perfect attire for sanding. I just felt the urge and went with it, not stopping to get scruffs on.

Here's the dismantled table with just its undercoat on...


I bought the table from the YMCA charity shop. I love looking around there and imagining what I could do with all their stuff. Where would I put it? What colour could I paint it? Could the seat be recovered? What fabric? Joy joy!

Yep, you've guessed it. This is my fad of the moment.


I'm pretty pleased with how it turned out though! It's a bit sketchy from close up, but it's saved me a packet on buying the table I originally wanted from IKEA. I saw this "Liatorp" table when I was in with mum a while ago.
Okay, so it's larger and it extends, but it's pretty similar no?

I knew that these pine round ones existed, I just had to be patient and wait for one to come along. I missed the boat on a few eBay ones, so in the end, I paid £15 for the one I got from the YMCA. It was probably a bit much considering that they go for naff all on eBay, but I was getting impatient. The paint was about £15 for the undercoat and chalk-white eggshell. I'll get some clear varnish for the top too, which I am guessing will be about a tenner? So it's cost me £40 in total. Saving £139 on the cost of the IKEA one. Yey!

We used to have a massive antique pine table from IKEA, but it was huge in the space. There are only 4 of us, and we don't need a really big dining area. We do eat most of our meals at the table though, so it is an essential buy.

My parents kindly lent us our put-me-on table.


It belonged to my Great Nana (mums side) so although it is battered and old, it has sentimental value. The veneer is coming off in places and the varnish is peeling everywhere. The table legs keep coming apart and the tabletop is warped upwards at one side, but it's still special.


It currently resides in our office, but I will probably put an ad on freecycle to see if anyone else could make use of a put-me-on table.

Here's our "new" table again...


And how it looks with the kid's seats in there too...


Huzzah!! :o)

Linked up to:


Saturday 20 August 2011

Living Room Reveal

Well, I feel like calling this a reveal is maybe a bit grand for my purposes. But, then since I am "revealing" what our living room looks like now then I guess not. It's probably even a bit premature to be revealing anything since there is soooo much left to do, but I take that long with these things that it could be next year and I still wouldn't be finished as such.

So why don't we start right at the beginning? It's summer 2006 and we have just bought the house. We have yet to move anything in. The living room looks like this:


That's the view from the old kitchen door, looking at the front window. Oh yes, it's yellow and pink. Each of the two adjacent walls were actually two similar - but tonally incompatible - different types of yellow.


That's the dining end back there. ^

Before we moved in we painted everywhere magnolia and recarpeted with plain beige carpets. It was a necessity since the previous owners smoked.

So this is the view towards the front again from a slightly different angle. I don't think we still actually own any of the things you can see in the picture...


Except for the tatty old computer chair. We still have that. And the dining chairs.

And into the dining end...


I loved that coffee table!

Then we got one blue wall and scattered some teal accessories about. It was always just a "put us on" scheme.


Rockin' the bare plaster at the end there.

We did use to have floating shelves on that blue wall, but I'd taken them down by this point in prep for decorating.  


Be prepared, because these next photos are during the extension build. We aren't naturally tidy people by any stretch, but living through having this work done was a real pain. The guys doing the work were as clean as they could have been, but just having everything upended meant tons of mess and dust.

This one is of the big unit. It looked like this for a looooong time. This thing is a gibble collector extraordinaire! Made worse when we had nowhere to put things like mugs and I don't even know what else!


We still have a window in the back on this one. Oh, and there's the blue wall on the left with the three shelves we had up. Shelves were a bit random really. 


Lovely view to the other side of the room. That playpen was a lifesaver when we needed to stop Lyric from getting through to the hole in the wall and all the messy part of the room. It lived there for a fair long while.


 :: shudder :: Here we had no kitchen in the extension and no kitchen in the old kitchen space. Stuff EVERYWHERE!


And these next ones are just what I took as I was painting when the furniture had all been moved. It looks HUGE! Well, huge by British average home standards I suppose. I look at all these blogs of the American ladies and their rooms are massive. Like, four times the size of ours. I get space envy.


Even though the room is pretty large, I still find it difficult to arrange the furniture right. I am constantly moving things around and Hubby gets home to find things have been switched about a lot. He is good though. When I did it this week and he came home, he asked why I had moved things around and I said, "Just because it's better. I could give you the proper explanation, but you're not interested." and he just smiled. Good man! :o)


The proper explanation has something to do with hiding the kid's boxes of toys and moving a unit that Korben has learned how to climb onto so that we don't pile hot drinks there anymore and forget about them.


This room is large, but it is long and thin with a whole wall of window at one end. The kids part is just like a walkway, which we always knew it would be. I am constantly trying to think of ways to stop it feeling like dead space, but it's hard. especially when it's basically just used to store the kid's toys in for now.

Once they get older we will rejig things. Maybe change the configuration of the space - moving internal walls, etc. But, or now it's nice to have one big room for them to really make a mess in have room to play.

Anyhoo, enough with the chatter. Here are the afterish / backend of during photos. :o)


As you can see in this next photo i have a huge wall space to fill. I'm feeling a bit intimidated by it and am unsure whether to get three large photos framed or do three large canvasses. Or, whether to get some picture shelves and do lots of smaller things.


The internal doors all still need painting, and there is no escaping the kid's things. Stairgates, toys and other baby type accouterment litters the house for the foreseeable future.


This is my new mirror, and I LOVE it! I was looking for one for what felt like forever. I wanted a mirror here to try to get some light into this side of the room. With it being in the middle of the house it gets dark. 


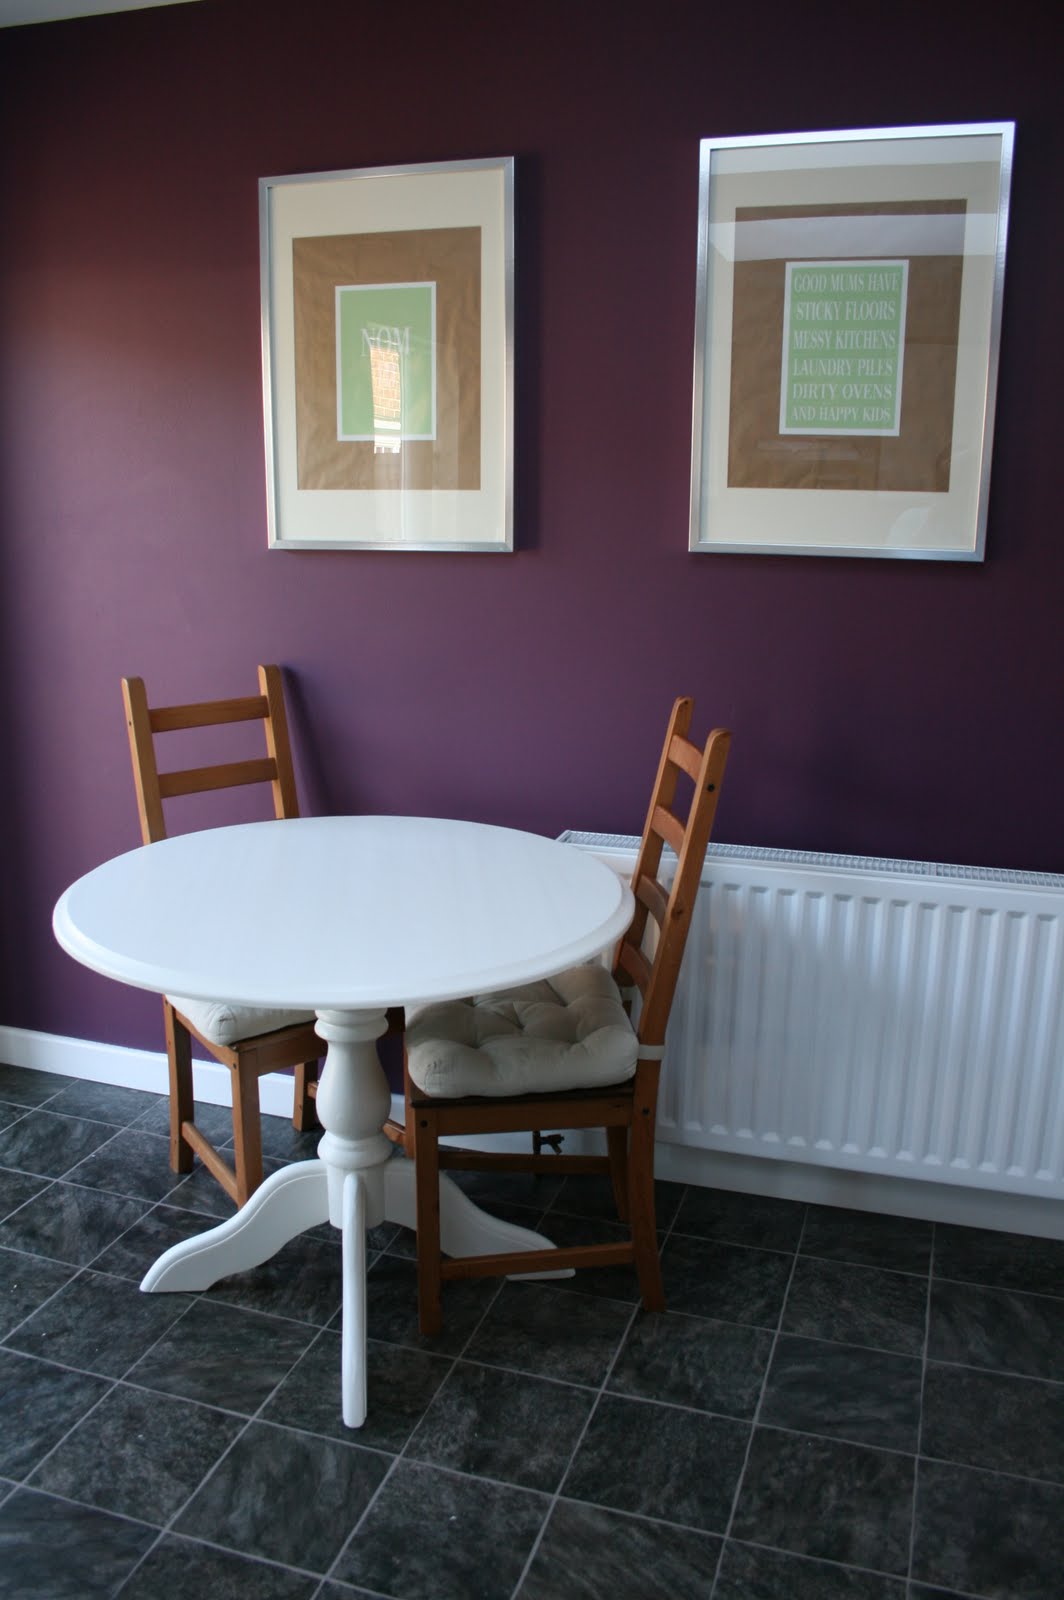
I needed something to sit above the radiator cabinet, which is exactly the same as the one i got for the hallway which looks like this: 


The mirror is from TKMaxx and was only £50. Okay, so that's not cheap, but I was looking at some that were over £30 for something half the size from Wilkos and they weren't close to being this nice or unusual.


The A-Z bookends are from a little independent gift and homewares shop in town. I was looking for some of these for ages too. I especially wanted them as A and Z are the initials of our first two children that we lost. Perhaps they should be holding up something a bit more special, but these are the books we have. I'm not going to stage the shelf with books about geology or Botanics when I read vampire fiction.


Here's the kid's toy corner. I love those expedit shelves, they are so huge inside. Tons of things will fit in there, but unfortunately, just not everything (no matter how hard I cram!) Once the kids get a bit older some of the bigger toys can be kept in their bedrooms. For now though they live here. It's no style statement, but this is a real home.


Eldest's reading chair and footstool are so cute! They were from Dunelm Mill. I may have to get a duplicate when Youngest gets a little older. I hope they still sell the same ones!!


Another blank wall space here too.  I've been scouring pinterest and the blogosphere for inspiration, but my indecisiveness is killer!


Like my lamp duo? The tall one was from TK Maxx (again!) and i originally bought it for the shape and wanted to spray it white. However, once i sat it there i kind of liked it how it was, so i escaped a little job there. I like the different textures of the two beige shades next to each other and the different heights of the lamps add interest. It took me a while to find a reasonably priced lamp as tall as this one. With it being next to the massive brown unit, I couldn't have something small that would have got lost. 


Yeah, there's nothing in that frame. I don't know what to put there yet. All of the frames in the room need their contents updating. I have no photos of Youngest out yet.

Sadly I don't know how long the room will stay unfinished. My maternity pay ran out this month, so I am on virtually no budget. I am just keeping my eye out for cheap and cheerful ideas, mainly of how I can fill those few wall spaces. Any ideas are most welcome! I also think I am going to raid the loft cause I am sure I have a ton of old photo frames in there. Old frames + my trusty white paint = gallery wall of some description!

So, i hope you have enjoyed the little tour of our living room. This room is the centre of our home. It's where we play, watch TV, chat to friends and family, drink tea and blog. It's far from finished and far from perfect, but we like it so far.

If you didn't enjoy it and maybe think I am a little bit weird for blogging about my living room, then I'm afraid you're going to have to either put up with it or leave. I am a homes perv. I get my kicks from looking at other bloggers homes and giving you a virtual tour of mine. I'm also a cupboards perv. There are few things in life more satisfying than eyeballing a beautifully organised storage space. ::dribble::
Related Posts Plugin for WordPress, Blogger...